Showing posts with label acrylic paint. Show all posts

Sunday, October 28, 2012

Halloween Movie Maddness: Steve Zissou DIY Costume


By: Mallory Jordan, moderately crafty

Don't have a costume figured out yet? Don't panic!

This costume is aimed towards those in need of an awesome Halloween get-up that doesn't cost a lot of cash. When in poverty, go to Goodwill!

Many local bloggers have jumped on the Goodwill train for easy and affordable costumes.
 I even found an entire Pinterest page filled with DIY Goodwill costumes.

Goodwill is actually selling a small selection of new costumes and accessories this year. However, I still want to keep the creative tradition and find my own pieces to a unique costume.

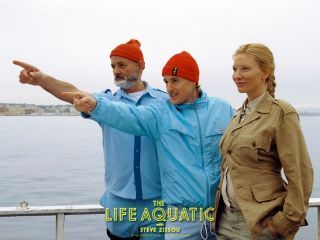
The heroic Steve Zissou is my Halloween inspiration this year. For those of you who have seen the Wes Anderson film, "The Life Aquatic," this is a pretty simple costume that costs too much in stores.

Photobucket
Photobucket  
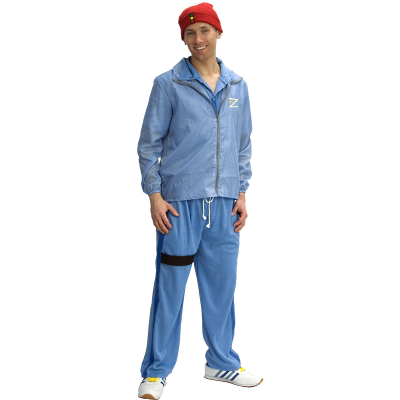
Store bought Costume -->
 $65.00-$70.00


Photobucket


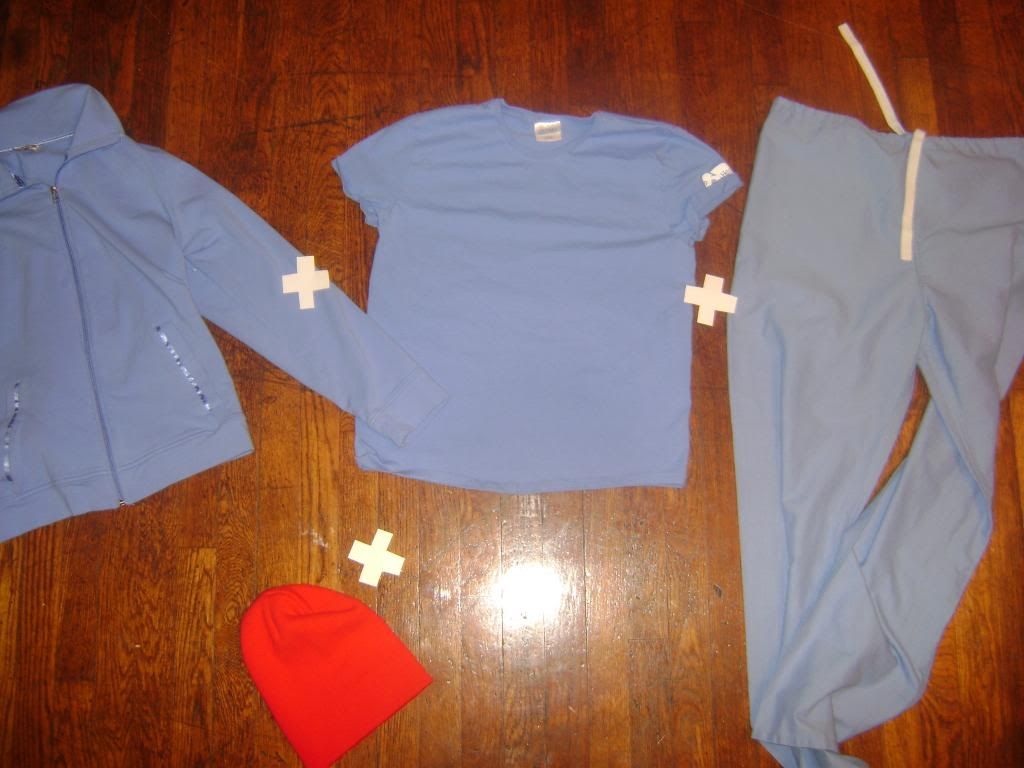
Costume pieces purchased at Goodwill
Less than $10  -->
Make sure the look is monochromatic and matches. I have a zip up jacket, a t-shirt (a polo works as well), scrubs, and a red beanie cap.


Photobucket
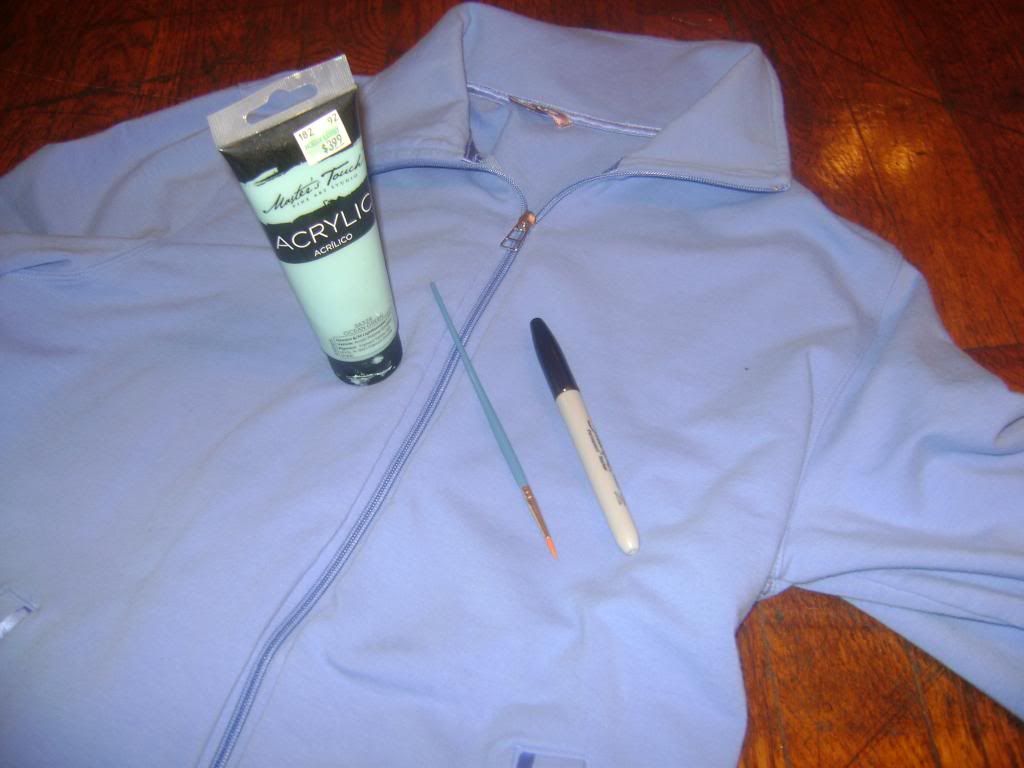
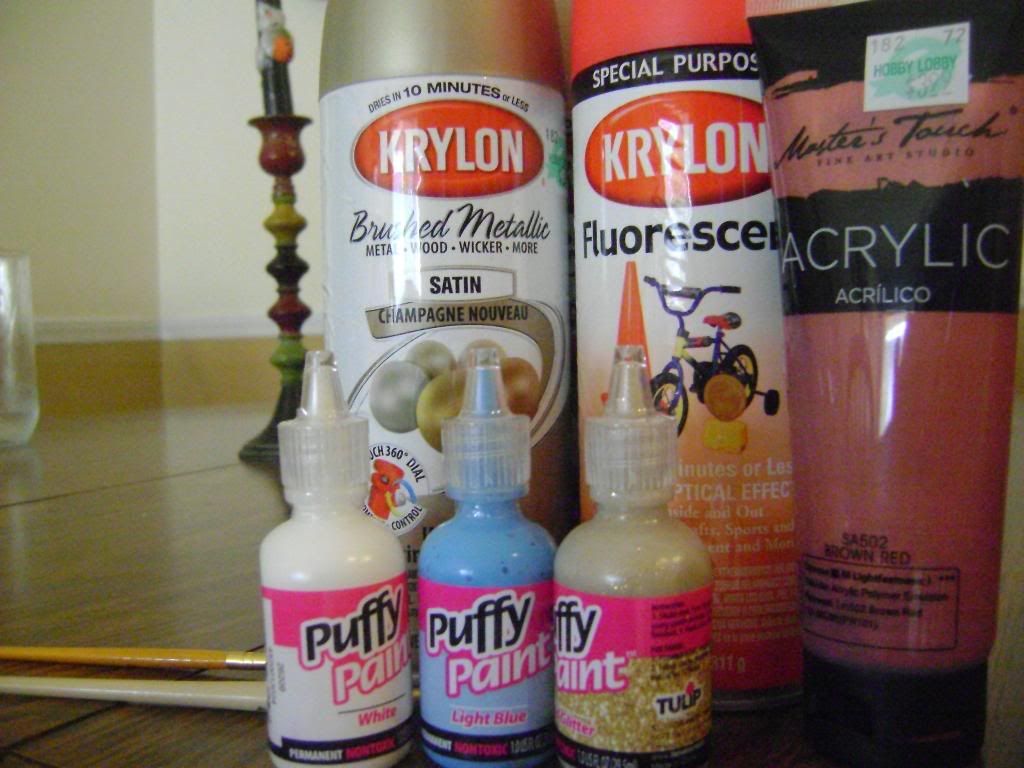
The most important detail of the costume is the Zissou logo. There are multiple variations of the logo, but I am going to use a black Sharpie for the darker details/outline, and the light blue acrylic paint I used previously for my leaf project. Dark blue paint for the outline and yellow paint for the smaller "z"'s are other alternatives.


Photobucket


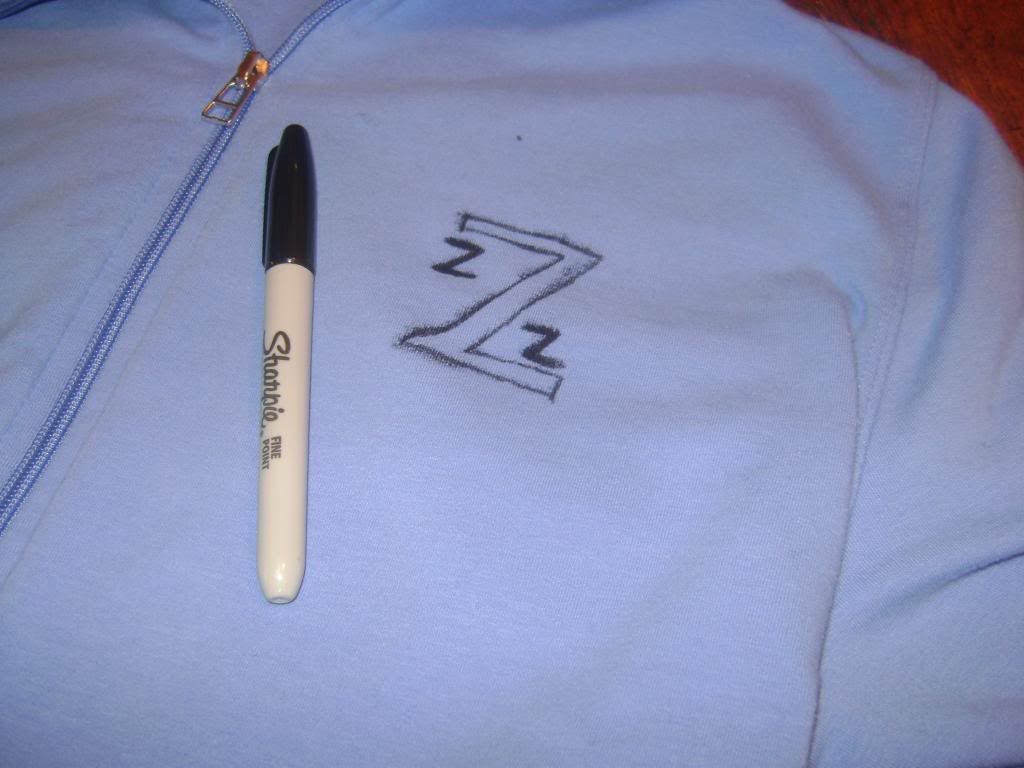
First, I use the Sharpie to make an outline for the large "Z" and heavily draw the small "z"'s on the upper left inside of the "Z" and the lower right of it.


Photobucket


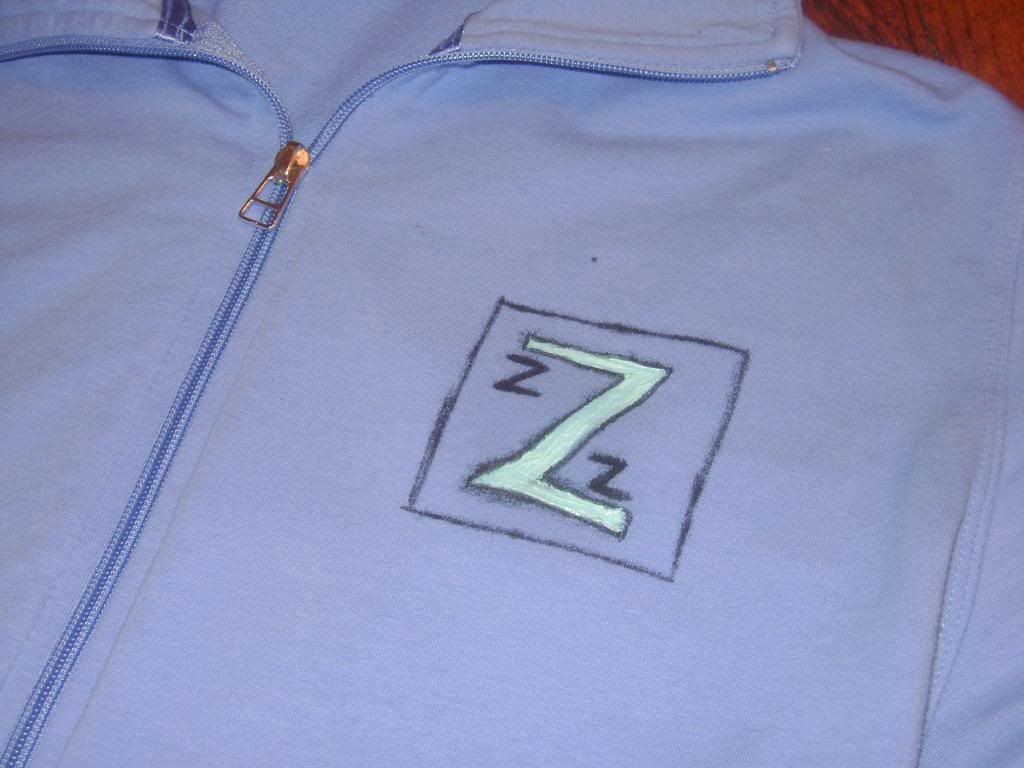
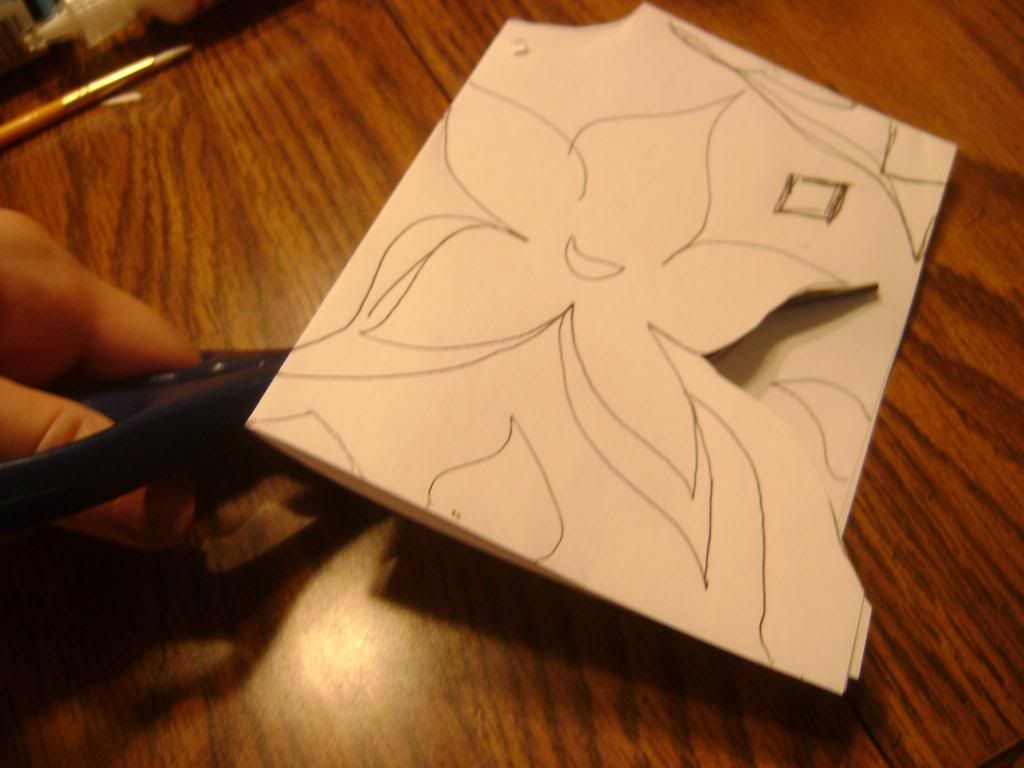
After I have used a straight edge to make the outline around the logo with my Sharpie, I bring out my light blue acrylic paint. With the small brush, I paint inside the Sharpie line.


Photobucket
Photobucket


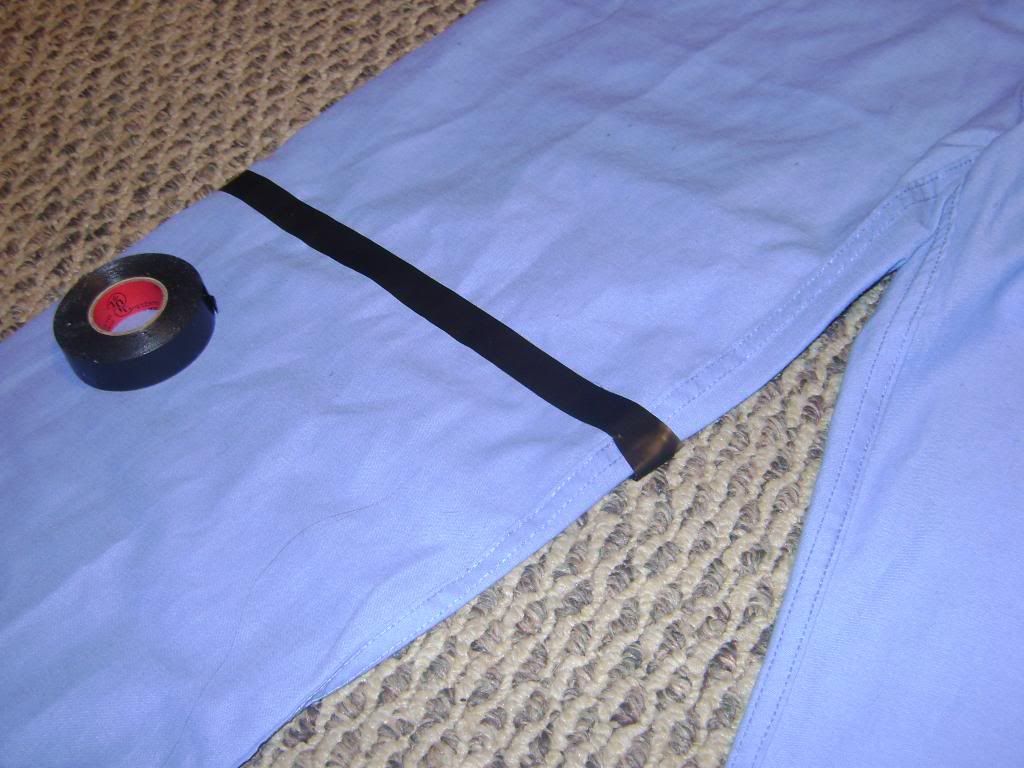
Finally, find some electrical tape or black duct tape (I prefer electrical because it is less shiny). This is for the holsters Team Zissou has around their legs.


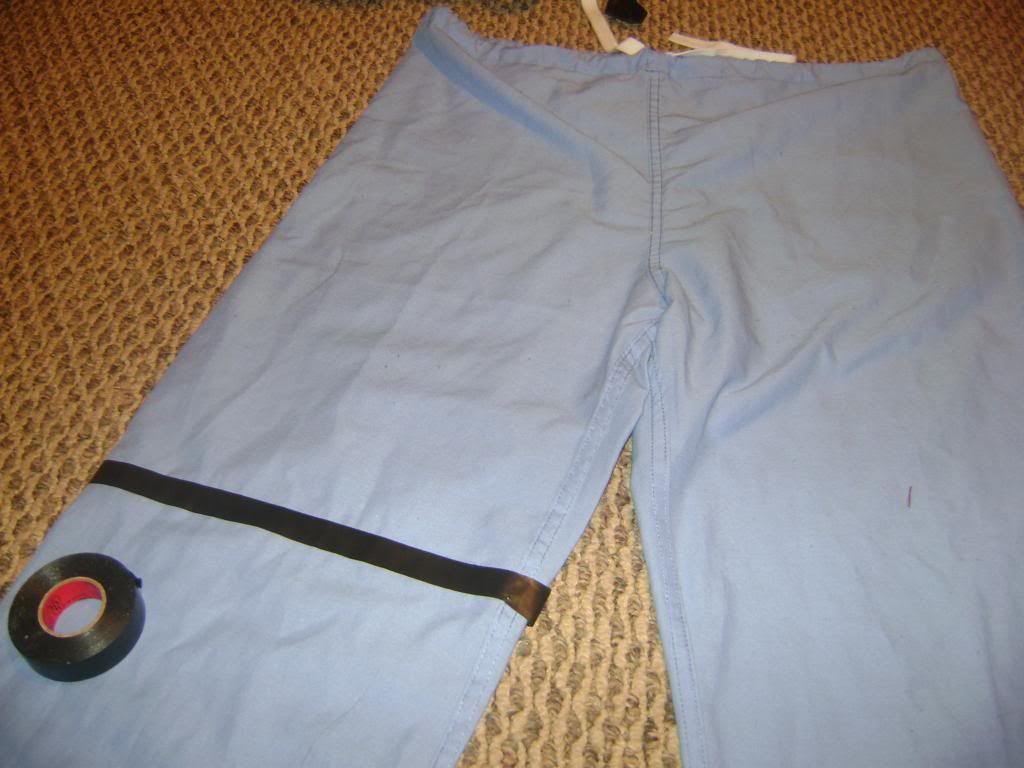
Spread out the fabric so that the tape sticks between creases. This makes the tape looser and a better fit on the fabric. You don't want to make the tape tighter than the pant or the tape could break off when worn.


PhotobucketPhotobucket
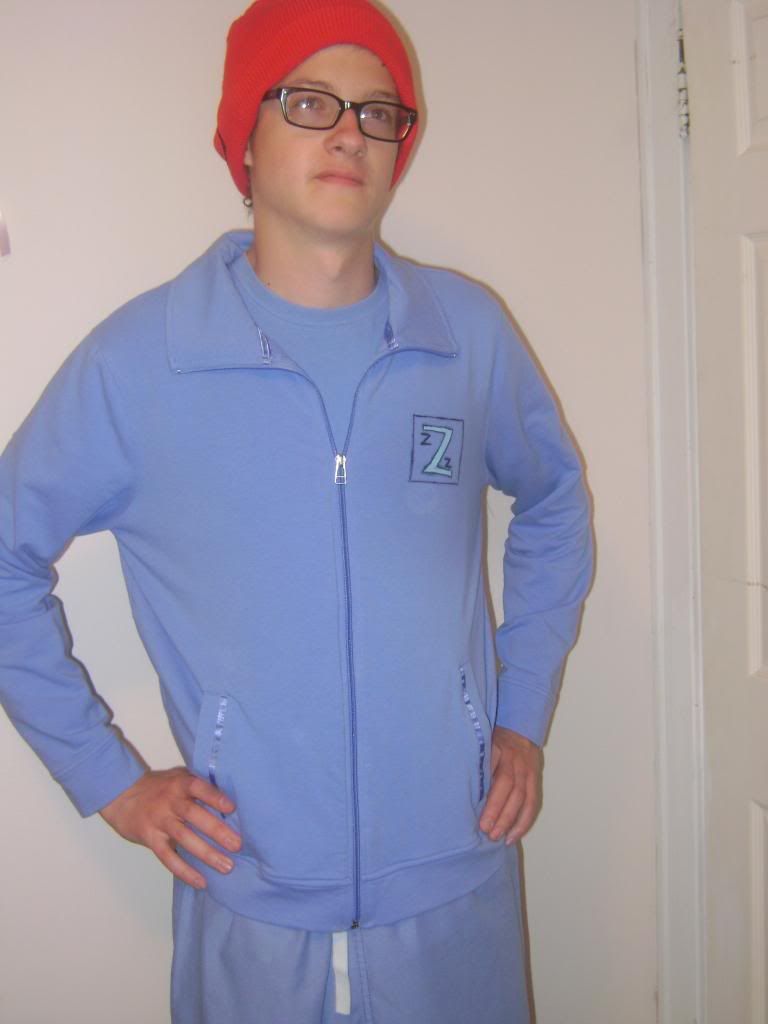
Put on the t-shirt, jacket with painted logo, scrub pants with the electrical tape for the "holster" and the red beanie for the final touch. Slip on some sneakers (Adidas preferably). Now you have the perfect, inexpensive Steve Zissou Costume!

For other last minute Halloween Goodies, click the link!

Sunday, October 21, 2012

Alternative Pumpkin Decorating


By: Mallory Jordan, moderately crafty

I just went to Stuckey's and got my own pumpkin. I'm terrible at carving and have probably carved out the same pumpkin face since I was 10. I have found some alternative ways to decorate a pumpkin to make it look nicer on the porch; not like a 10 year old carved it.

One alternative way to decorate a pumpkin is to paint it. The best way to paint pumpkins is to tape a design or doily on the pumpkin and fill in the spaces with a small brush. It makes for a really simple and classy look.

Or, you can hot glue buttons or beads to make words and cute designs. Gluing glass frit or sequence
is another way to glitz up your pumpkin.

I am going to use spray paint, acrylic paint, and puffy paint to decorate my pumpkin. I found some inspiration on Pinterest, if you couldn't tell from my links.


FIRST, go to a pumpkin patch to get a nice, deep orange pumpkin of any size.


Photobucket


PhotobucketPhotobucketMake sure you clean off your pumpkin so that there is no dirt from the pumpkin patch. Gather your supplies, using colors that match your house. I used gold spray paint, gold glitter puffy paint, and metallica maroon acrylic paint.

PhotobucketPhotobucketTo make a stensil for the spray paint, first cut a hole in the center that fits around the stem of the pumpkin. Then, fold the paper in half twice. Draw your design, making sure that you know what space you're cutting. DO NOT cut along the crease/folded lines.

PhotobucketPhotobucket
Unfold the cut design. Put tape on the edges before putting it on the pumpkin so it sticks. Notice I altered the shape of the outside of the paper. Don't just create a border on the edges. Make shapes and designs grow from the edges so your whole design is shaped interestingly.

PhotobucketPhotobucket
Slip the stensil over the stem and tape it down to the pumpkin. Apply the spray paint only to the top of the pumpkin as much as you can.
PhotobucketPhotobucket
Once the spray paint is mostly dry, remove the paper stensil. Then, get the rest of the supplies to start decorating.
PhotobucketPhotobucket
I outlined my leaves/flowers with the metallic maroon acrylic paint and painted some extra leaves on the pumpkin. I used the gold glitter puffy paint to outline the diamonds and add some whimsical dotted swirls sporadically.  I added a touch of blue puffy paint around the base of the stem as well.


Photobucket

Now, there is another pumpkin to add to the halloween spirited collection! No stressful carving needed.


Monday, October 1, 2012

The Leaves are Changing, and not Just Colors

By: Mallory Jordan, moderately crafty

The uncommonly warm climate that Indiana had this winter has affected more than just the weather.

In an online article, The Iowa Department of Natural Resources have found in their weekly reports on fall conditions that the leaves are changing early this year.

"The 2012 drought explains most of the accelerated changes this season. The drought stressed trees. Many are shutting down production of chlorophyll (the component that keeps leaves green) early. That means the leaves' colors are coming through," Matt Milner explained in his article.

The actual report proving the claims from The Iowa Department of Natural Resources's research is at the bottom of the article.

This has not only been a problem in the midwest. In Australia, evidence exists that shows the leaves are shrinking. Science Daily and University of Adelaide researchers have linked the shrinkage specifically to climate change.

To better understand this leafy phenomenon, CNN posted a great article where, "Sharron, a science communication specialist with the National Park Service's Northeast Temperate Network in Vermont, explains the science behind the beautiful colors of fall." The article thoroughly explains why leaves change colors, and why the same specific colors.

But, you can create your own leaves this fall. You can even choose what color that the leaves will turn. Just get some gold spray paint, canvas, paintbrush and acrylic paint to bring the colors of fall into your own home.

Photobucket
PhotobucketPhotobucket

PhotobucketPhotobucket

PhotobucketPhotobucket


To improve the image of the leaves post spray paint, use very flat leaves. Using some kind of adhesive under the leaves or contact paper that sticks to the leaves and the canvas will help this issue as well. Otherwise, the spray paint will blow the leaves out of place and get under the stem especially, ruining the contrast of the image as you can kind of see with the red leaves.

If you feel inspired by fall like I do and want to further your crafty side after this project, go out and take some photographs. In honor of fall officially being here, Gizmodo's annual shooting challenge has begun. Through November 5 they are accepting jpg photos that show the beautiful colors of fall. So pull on a comfy cardigan, grab a camera and send pictures to contests@gizmodo.com!