Showing posts with label party. Show all posts

Wednesday, November 7, 2012

Pinterest Party!

By Lindsey Riley (The Crafting Challenged Blogger)

Hello everybody! Let's get the crafting ideas flowing so that this weekend, you can start making those holiday presents.
Last weekend, I went to Indianapolis with my friend Ashley to stay at her house and get away from the craziness of college for a few days. Her mom, a very sweet and avid crafter, planned a Pinterest party for this same weekend. She wanted members of her family and their friends to come together, relax, and have fun creating those projects that they never had the time to do.

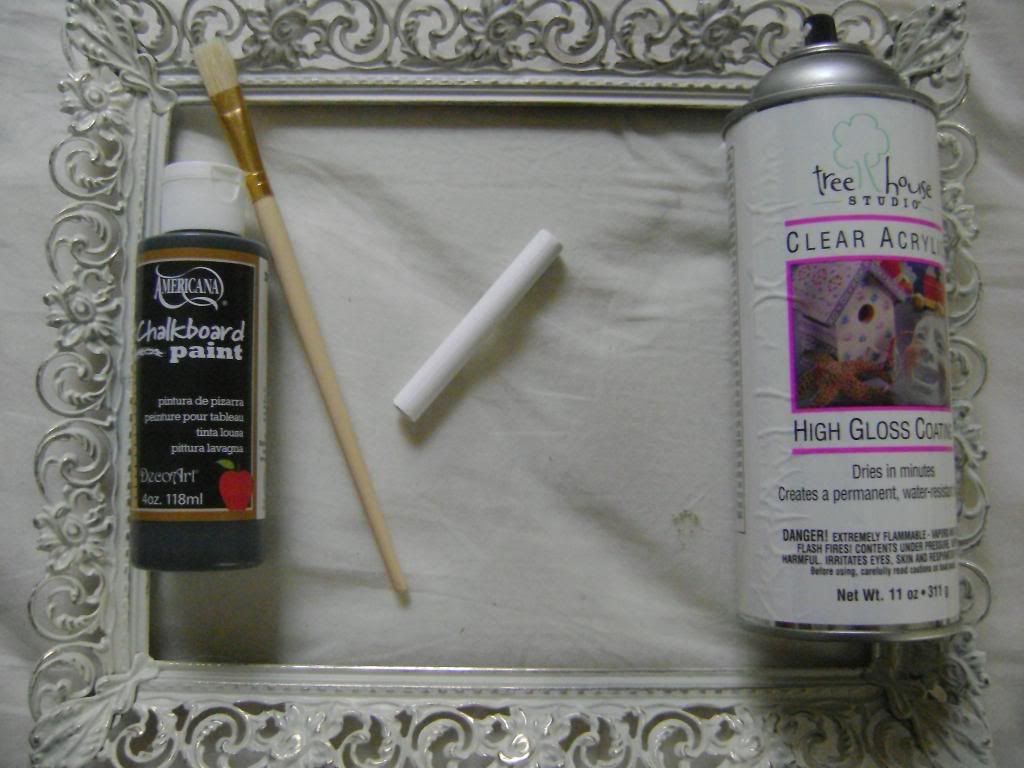
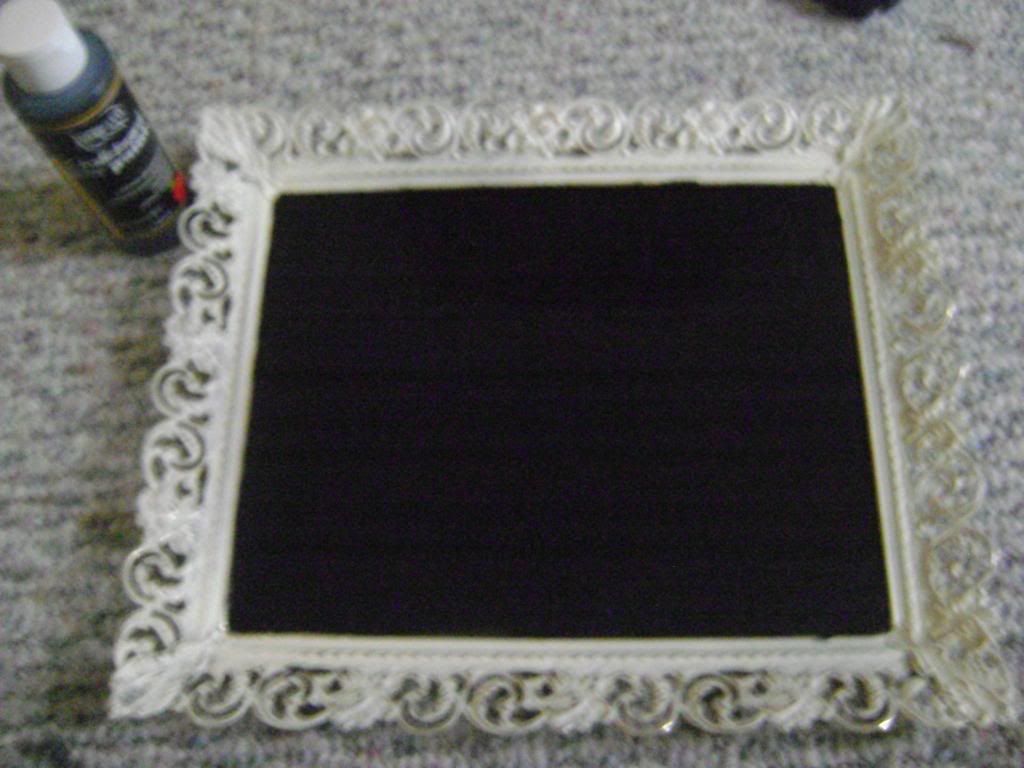
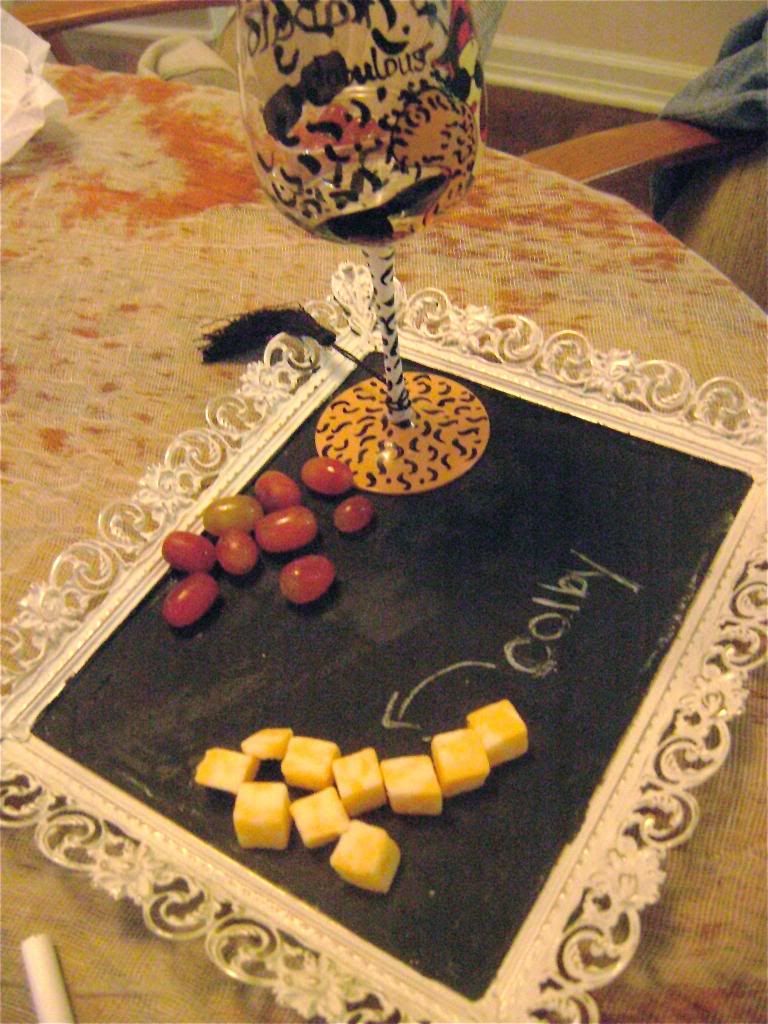
Everything at this party was inspired by Pinterest. She made dishes that she found through Pinterest and planned a few crafts for everyone to do together that she found on Pinterest. Here are a few photos of what I made and links to instructions and recipes on how to make the crafts and food.

Let's inspire each other: What Pinterest craft do you want to make but don't have time for? Comment below with your answer.
http://www.verybestbaking.com/recipes/139486/peanut-butter-cheese-ball/detail.aspx
http://www.craftytexasgirls.com/2012/07/christmas-in-july-sharpie-plates.html
http://www.cafemom.com/group/113532/forums/read/15042140/Fall_Crafts_Challenge_Day_6_Show_Us_Something_with_Pumpkins?next=51#replies

http://www.tasteofhome.com/recipes/Chicken-Taco-Ring

Monday, November 5, 2012

Celebrate a 21st with this Classy Gift

By: Mallory Jordan, moderately crafty

In more personal news, it's my 21st birthday today! I decided to celebrate by making myself a simple, but classy gift.

Wine and cheese platters are one of the most simple touches any one can make to a classy get together. They show off those expensive cheeses and delicious wines that complement.

I have become especially envious of the shabby-chic DIY chalkboard wine and cheese platters. They allow the host or hostess to label each cheese, and if the board is big enough, each wine. So, naturally, I had to create my own. Now that I am 21 years old, I can't get away with a wine night that doesn't have the classiest of accessories to show off.

PhotobucketAll I bought for this project was:

  • An antique style 8X10 frame from eBay.com - $11
  • Chalkboard paint from Hobby Lobby - $4
  • Chalk
  • And some kind of primer for the glass

If you use a frame and plan on painting the glass like I did, it is necessary to get some kind of spray primer made for glass. This will help the chalkboard paint actually stick to the surface of the glass.

Before applying the primer, it is important to clean off the glass. Rubbing alcohol will ensure that the glass is clean. Once the adhesive primer has dried, you can apply the chalkboard paint.

PhotobucketFollow the instructions on the back of the chalkboard paint. If you get the same brand as mine, you will want to first paint the glass horizontally. Let the paint dry for 1 hour and then paint the second coat vertically. This will give the proper coverage. You must wait 24 hours after the second coat before using chalk on it. My paint said you could use water for clean up, but I suggest just using a dry paper towel.

I also took out the frame's back piece with the stand and put cardboard in place of it so it looks more like a platter than a reused frame.

After 24 hours, you now have a simple, inexpensive and shabby-chic wine and cheese platter. Your guests will be jealous and wonder how you did it, I promise.


Photobucket


A "wine and cheese" board on Indulgy has other great ideas for wine and cheese platters. Not only does the board have similar designs to use with my DIY idea, but also other wine and cheese plate designs and other ways to use chalkboard paint for wine and cheese night accessories.